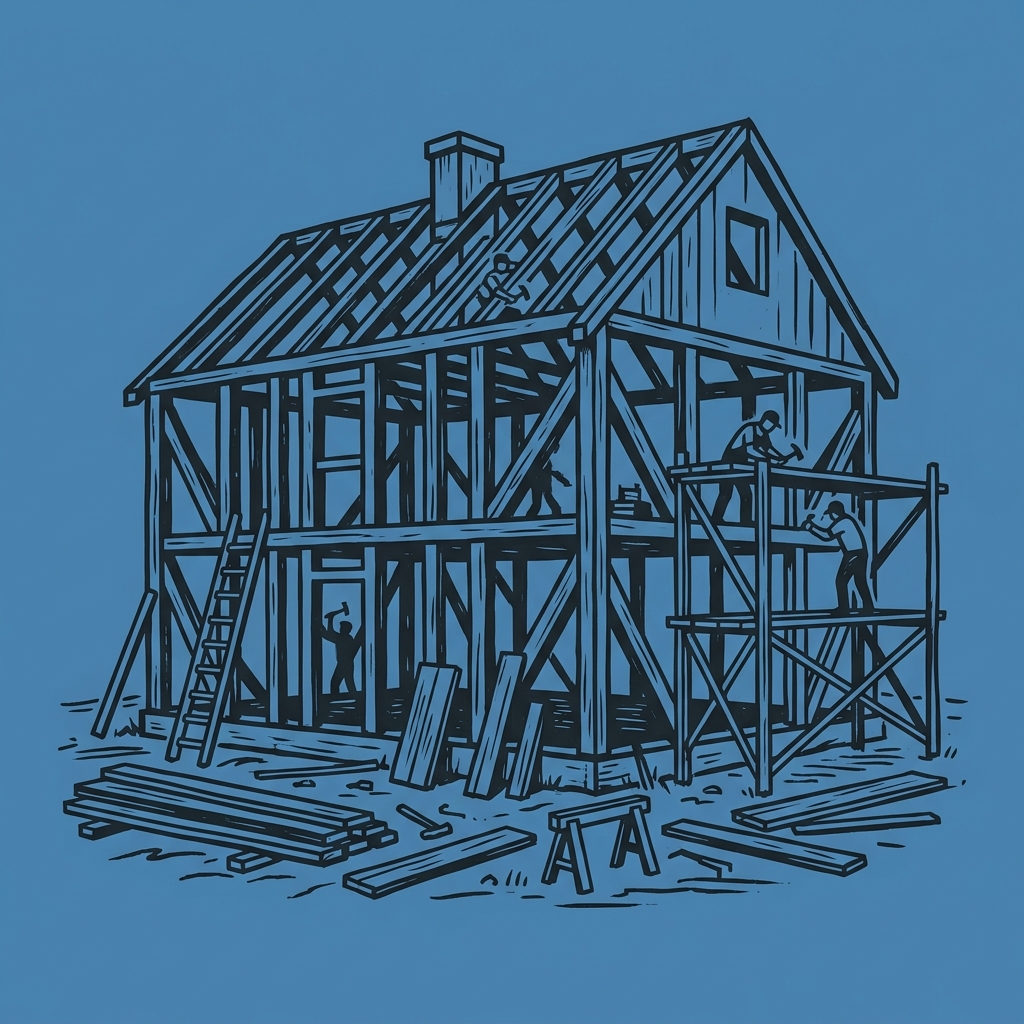
Building a house is a clear, logical sequence — eleven steps, each with its own decisions and inspections. Here’s the whole process from napkin sketch to keys, and what each phase actually involves.
| Step | Phase | The One Thing to Get Right |
|---|---|---|
| 1 | Vision & budget | Add contingency before finalizing |
| 2 | Land | Soil test before you close |
| 3 | Hire the team | GC references + insurance |
| 4 | Design & permits | Never build unpermitted |
| 5 | Site & foundation | Foundation inspection is mandatory |
| 6 | Framing | Dry-in before weather finds you |
| 7 | Rough-in (MEP) | Inspect before covering anything |
| 8 | Drywall & interior | Selections locked in early |
| 9 | Exterior finishing | Don’t cheap out on roof or siding |
| 10 | Fixtures & appliances | The punch list starts here |
| 11 | Final inspection & CO | Document everything in writing |
Step 1: Define Your Vision and Set Your Budget
Before a single permit is filed or a foundation poured, you need two things: a clear vision and a realistic budget.
Your vision covers the basics — how many bedrooms and bathrooms, single or multi-story, open-plan or traditional layout, indoor-outdoor living, garage, basement. It does not need to be an architectural drawing at this stage, but it should be specific enough to guide every decision that follows.
Your budget needs to account for more than construction costs alone. A full build budget includes:
- Land purchase (if not already owned)
- Architectural and engineering fees
- Permits and inspections
- Construction costs (materials + labor)
- Contingency fund — typically 10–20% of total construction costs for surprises
- Landscaping and finishing touches
- Temporary housing costs during the build
In 2025–2026, construction costs in the United States generally range between $150 and $500 per square foot, depending on location, materials, and the complexity of the design. A modest 2,000-square-foot home might cost $300,000–$600,000 to build, excluding land.
Pro tip: Always add your contingency before you finalize your budget, not after. Surprises in construction are not the exception — they are the rule.
Step 2: Find and Purchase Your Land
The lot you build on shapes everything: the orientation of the home, drainage, access to utilities, and your daily life for years to come.
Key factors to evaluate before purchasing land:
- Zoning regulations: Is the lot zoned for residential construction? Are there restrictions on home size, setbacks, or height?
- Soil quality: Poor or unstable soil requires costly remediation. A soil test before purchase is money well spent.
- Drainage: Land that slopes toward the building site or retains water creates long-term foundation and moisture problems.
- Utility access: Is the lot connected to municipal water, sewer, electricity, and gas? If not, what will it cost to bring them in?
- HOA rules: If the lot is in a planned community, HOA design standards may significantly restrict your options.
Work with a local real estate agent experienced in land sales, and always have a land survey conducted before closing.
Step 3: Hire Your Team
Building a house is a team sport. The core professionals you will need:
- Architect or designer: Translates your vision into plans, manages compliance with building codes, and often coordinates with engineers. If full custom design is outside your budget, pre-drawn house plans from services like Houseplans.com can offer a significant saving — though local engineering stamps and adjustments will still be required.
- General contractor (GC): The on-site manager who hires and coordinates all subcontractors (framers, electricians, plumbers, HVAC, roofers, finishers). Your GC is your most important hire. Verify their license, check references from recent builds, and confirm they carry workers’ compensation and liability insurance before signing anything.
- Structural and civil engineers: Required for foundation design, site grading plans, and certain structural elements — particularly in areas prone to earthquakes, high winds, or flooding.
- Lender: If you are financing the build, you will need a construction loan — a short-term loan that funds construction in stages, typically converted to a standard mortgage upon completion.
Step 4: Design Your Home and Pull Permits
With your team in place, your architect or designer will develop:
- Schematic designs — early-stage floor plans and elevations
- Design development — refined plans with materials and systems selected
- Construction documents — the detailed technical drawings and specifications your GC and subcontractors will actually build from
Once construction documents are complete, your contractor submits them to the local building department for review. Permits required typically include building, electrical, plumbing, mechanical (HVAC), and grading permits. The review process can take anywhere from a few weeks to several months depending on your municipality.
Do not skip or shortcut permits. Unpermitted construction creates legal liability, complicates future sales, and — in worst cases — results in forced demolition.
Step 5: Prepare the Site and Lay the Foundation
With permits in hand, construction begins.
Site preparation involves clearing vegetation, grading the land to the engineered specifications, and excavating for the foundation. Utility trenches may also be dug at this stage.
Foundation types include:
- Slab-on-grade: A concrete slab poured directly on prepared soil. Common in warm climates with stable soil. Cost-effective and fast.
- Crawl space: The home sits on short foundation walls, leaving an accessible but unfinished space beneath. Better for areas prone to moisture or requiring utility access.
- Full basement: The most expensive option, but adds significant livable square footage. Common in colder climates where frost depth requires deeper footings anyway.
After the concrete is poured and cured, a local inspector verifies that the foundation meets code before framing begins. This inspection is not optional — it is required to proceed.
Step 6: Frame the Structure
Framing is the dramatic phase — in a matter of weeks, your empty lot becomes something that looks like a house. The floor system, exterior and interior walls, and roof structure are all erected during framing.
Once the walls are up, sheathing (plywood or OSB panels) is applied to the exterior, followed by a weather-resistant barrier called house wrap. This keeps water out while allowing vapor to escape. Windows and exterior doors are installed at the end of this phase.
Framing typically costs $7–$16 per square foot and takes one to two months, depending on the size and complexity of the home and local weather conditions.
Step 7: Install Mechanical Systems (Rough-In)
With the shell complete, the mechanical subcontractors go to work inside the open walls and ceilings before they are closed up. This phase — called rough-in — includes:
- Plumbing: Water supply lines, drain and vent pipes, sewer connections. Large fixtures like bathtubs are set now while there is still room to maneuver them.
- Electrical: Wiring runs throughout the walls and ceilings; the main panel and subpanels are installed.
- HVAC: Ductwork and equipment for heating, ventilation, and air conditioning.
- Optional systems: Low-voltage wiring for networking, audio, security, and smart home automation.
After rough-in, inspectors visit the site to review all mechanical work before it is covered. Insulation is then installed in walls, ceilings, and floors.
Step 8: Close the Walls — Drywall and Interior Work
Once insulation passes inspection, the interior transformation begins. Drywall is hung, taped, mudded, and sanded — and suddenly the home feels like real rooms.
This phase also includes:
- Painting (prime and finish coats)
- Cabinetry and millwork installation
- Interior doors and trim
- Flooring — hardwood, tile, carpet, or vinyl, depending on room and design
This is when your design selections become reality: the paint colors you agonized over, the kitchen cabinet style, the tile you chose for the bathroom.
Step 9: Exterior Finishing
Simultaneously with interior work (or slightly before), the exterior is completed:
- Siding: Fiber cement, wood, brick, stone, stucco, or vinyl — each with different cost, maintenance, and aesthetic trade-offs
- Roofing: Shingles, metal, tile, or other materials installed over roof sheathing and underlayment
- Exterior trim, gutters, and downspouts
- Driveway and walkways
- Landscaping: Grading, topsoil, grass seed or sod, plantings
Use quality materials for the roof and exterior walls. These are not areas to cut costs — they protect everything inside.
Step 10: Fixtures, Appliances, and Final Finishes
The home is nearly complete. This phase brings everything to life:
- Plumbing fixtures: sinks, toilets, shower heads, bathtubs
- Electrical fixtures: light switches, outlets, lighting, ceiling fans
- Appliances: refrigerator, range, dishwasher, washer and dryer
- Hardware: door handles, hinges, cabinet pulls
- Final paint touch-ups
Step 11: Final Inspections and Walkthrough
Before you can legally occupy the home, it must pass a final inspection by the local building authority. This comprehensive review confirms that the finished construction meets all code requirements. A Certificate of Occupancy is issued when the home passes.
Your GC will also conduct a final walkthrough with you to identify any items on the punch list — minor deficiencies or incomplete work that need to be addressed before you take possession. Document everything in writing.
How Long Does It Take to Build a House?
For a standard single-family home, expect the process — from breaking ground to move-in — to take nine to twelve months. Custom or complex builds can run eighteen months or longer. Add another two to six months for the planning, permitting, and design phase before construction starts.
Key Tips for a Successful Build
- Communicate constantly with your GC: Weekly site visits and check-ins prevent small issues from becoming expensive problems.
- Lock in your material selections early: Delayed selections are one of the most common causes of schedule overruns.
- Document everything: Keep a running file of contracts, permits, change orders, receipts, and inspection reports. You will need them.
- Plan for delays: Weather, supply chain issues, subcontractor availability, and permit backlogs are part of every build. Build buffer time into your expectations.
- Know your contract: Understand the difference between a fixed-price contract (you know the total cost upfront) and a cost-plus contract (you pay actual costs plus a markup). Each has trade-offs.
Conclusion: Building Is Hard — and Worth It
Building a house from scratch is genuinely difficult. It requires patience, organization, money, and more decisions than most people anticipate. But for those who see it through, the result is something extraordinary: a home designed for your life, built on your terms, that you understand from the foundation up.
Start with a solid plan, hire people you trust, and take it one phase at a time. The house you want is absolutely buildable.